Guide: Short Shifter
Date: June 19th, 2004
Cost: $18
Time: 1 hour
Supplies
- Phillips screwdriver
- Sockets
Steps
I created the original guide seven months after I actually swapped to a short shifter, so much of the information in this guide is less detailed than in some of the other guides (such as what size sockets you need, but I'd guess 10mm, 12mm, and maybe 14mm). The modification is fairly straight forward. You are simply removing the old shifter and installing the new one. Pay attention as you remove the screws and other pieces so that you can correctly reassemble everything.
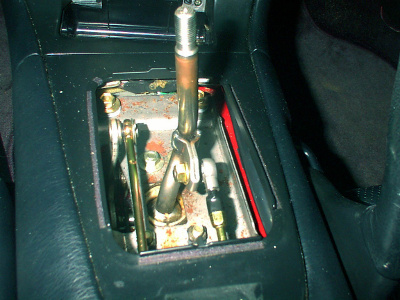
Unscrew the shift knob and pop the boot out (four clips). The shift surround pops off (two clips) at the rear. To make things easier, remove the console box (behind the shifter) by unscrewing the two screws in each compartment. Then, remove the entire piece that runs from the ash tray to the firewall. There are a few Phillips screws, sometimes covered by plastic pieces. There should be three screws on each side and two at the front.
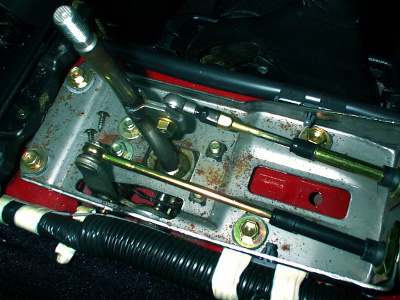
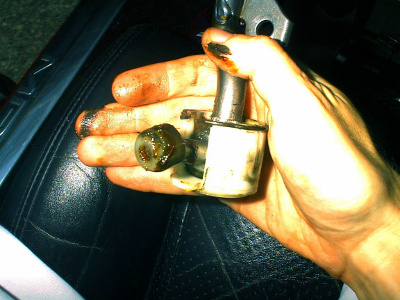
Now is the test of your thinking ability. I don't have any pictures of the next steps, but you basically just undo the cables connected to the shifter and remove the metal plate at the bottom. The hard part is to remove those plastic pieces that fit on the rotating parts of the shifter. They took me fifteen minutes and many swear words to remove, but they eventually gave in to my determination. Fortunately, they pop onto the replacement shifter fairly easily. Be sure to add grease if necessary.
Reassembling the piece is just the reverse of disassembly, so hopefully you were paying attention.


